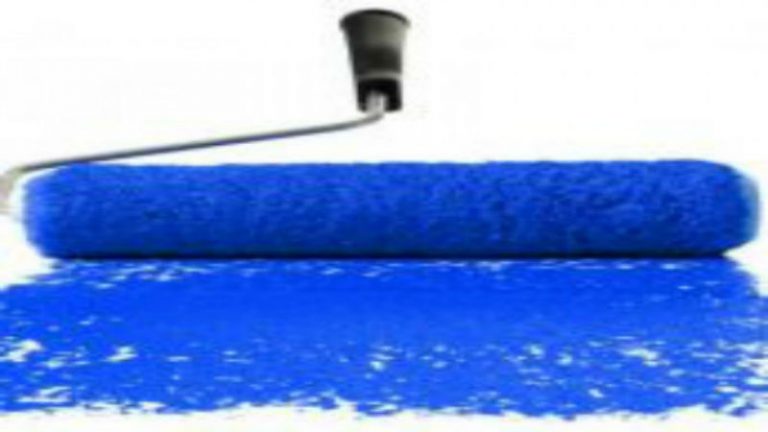
When it comes to transforming your living space with a fresh coat of paint, achieving a professional-looking finish can be a rewarding experience. One essential tool that can significantly impact the outcome is the paint roller. Specifically, utilizing the right Paint Rollers For Smooth Finish is crucial for a seamless and polished appearance.
Choosing the Right Paint Roller
Selecting the appropriate paint roller is the first step toward ensuring a smooth finish. Different rollers are designed for various surfaces and types of paint, and choosing the right one can make all the difference.
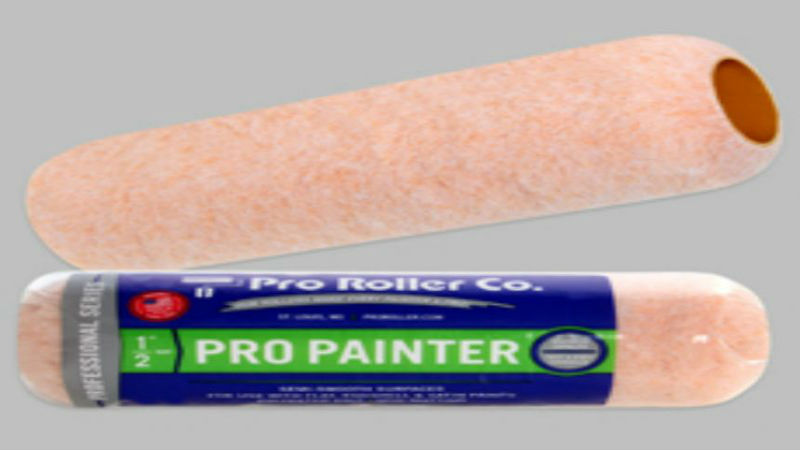
- Material: Paint rollers come in various materials, such as foam, microfiber, and woven fabric. Foam rollers are ideal for smooth surfaces and deliver an even coat without leaving texture marks. Microfiber rollers are excellent for semi-smooth surfaces and provide good coverage with minimal splatter. Woven fabric rollers are durable and work well on rough surfaces.
- Nap Length: The nap length of a roller refers to the thickness of its fibers. Short nap rollers (1/4 inch or less) are best for smooth surfaces like drywall. Medium nap rollers (3/8 to 1/2 inch) work well on lightly textured walls, while long nap rollers (3/4 inch or more) are suited for rough or heavily textured surfaces.
Preparing Your Surface
Preparation is key to achieving a professional finish. Before painting, ensure that the surface is clean, dry, and free from any dust or debris. This will help the paint adhere better and create a smoother finish.
- Cleaning: Use a mild detergent to clean the walls, and allow them to dry completely before painting.
- Sanding: Lightly sand the surface to remove any imperfections and create a smooth base for the paint.
- Priming: Apply a primer to the surface if necessary. This is especially important when painting over a darker color or a surface prone to stains.
Painting Technique
Once you have the right roller and have prepared the surface, the next step is to focus on your painting technique.
- Loading the Roller: Dip the roller into the paint tray, and roll it back and forth to evenly distribute the paint. Avoid overloading the roller, as this can lead to drips and an uneven finish.
- Application: Start painting in a “W” or “M” pattern to distribute the paint evenly. Then, fill in the gaps with horizontal or vertical strokes. This technique helps prevent roller marks and ensures a uniform finish.
- Pressure: Apply even pressure while rolling, and avoid pressing too hard. Excessive pressure can cause streaks and an uneven texture.
Finishing Touches
After painting, allow the paint to dry completely before applying a second coat if necessary. This additional coat can enhance the color and ensure a smooth, even finish.
- Inspection: Once the paint has dried, inspect the surface for any missed spots or imperfections. Touch up any areas as needed.
- Cleanup: Properly clean your roller and other painting tools to maintain their quality for future projects.
Achieving a professional result with paint rollers for smooth finish at home is a combination of choosing the right tools, preparing the surface, and using the correct technique. By selecting the appropriate roller material and nap length, meticulously preparing the surface, and employing effective painting techniques, you can transform any room with a flawless finish. Whether you’re refreshing a single wall or undertaking a larger project, these steps will help you achieve a polished and professional look with ease.